It can be easy to accidentally overwrite a formula or alter a key value in Excel, which will ruin your whole dataset, and this can easily happen when several individuals are working on the same file.
But thankfully, the features of locking & protection of cells in Excel allow for preventing such errors.
In this guide, we’ll walk you through how to lock & protect cells in Excel step by step, so you can keep your data secure, maintain accuracy, & ensure smooth collaboration.
Understanding Cell Locking vs. Worksheet Protection
In Excel, all cells are set to 'locked' by default, but this setting only takes effect when the worksheet is protected.
Therefore, the most important step is to unlock the specific cells you want users to edit.
This feature ensures that essential formulas and data stay protected while enabling flexibility in other parts of the sheet.
Key Differences
| Aspect | Locking Cells | Protecting Worksheet |
| Definition | Marks selected cells as "locked" (or "unlocked") in preparation for protection | Applies restrictions across the worksheet to enforce locked cell settings |
| Where to Apply | Right-click > Format Cells > Protection tab | Go to the Review tab > Click "Protect Sheet" |
| When It Takes Effect | Has no effect unless the worksheet is protected | Enforces the locked/unlocked settings you’ve applied to cells |
| Primary Purpose | To define which cells should be editable or non-editable after protection | To restrict editing actions (editing cells, formatting, deleting, etc.) across the sheet |
| Default Behavior | All cells are locked by default in Excel | The worksheet is unprotected by default, with no editing restrictions |
| User Control | Allows fine-tuning of which cells users can or cannot modify | Enables setting a password and choosing specific actions to allow or restrict |
| Common Use Case | Locking formulas, headers, or static data while keeping input fields editable | Securing the entire worksheet to avoid accidental changes or unauthorized edits |
| Password Option | Not applicable | Yes, can set a password to avoid unauthorized unprotected access |
Learn Excel the smart way! Our course teaches you all the essential tools and techniques to master spreadsheets, from formulas to charts, and improve your workflow in every task you do.
Step-by-Step Guide to Locking & Protecting Cells in Excel With Use Case
Use Case Example: Budget Tracker
Let's take a simple budget tracker in Excel.
Users should only be able to enter values for:
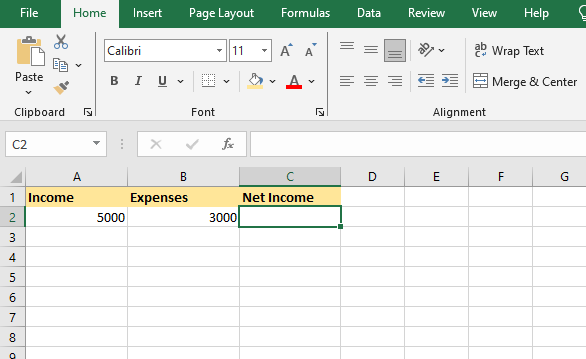
While the Net Income (calculated using a formula) should be locked to avoid accidental edits.
Here’s how you do it step-by-step:
Step 1: Unlock All Cells
By default, all cells are marked as "Locked." If you protect the sheet without first unlocking cells, the entire sheet will become uneditable.
This step unlocks all cells so you can then choose the specific cells you want to lock.
How to do it:
- Press Ctrl + A to select the entire worksheet.
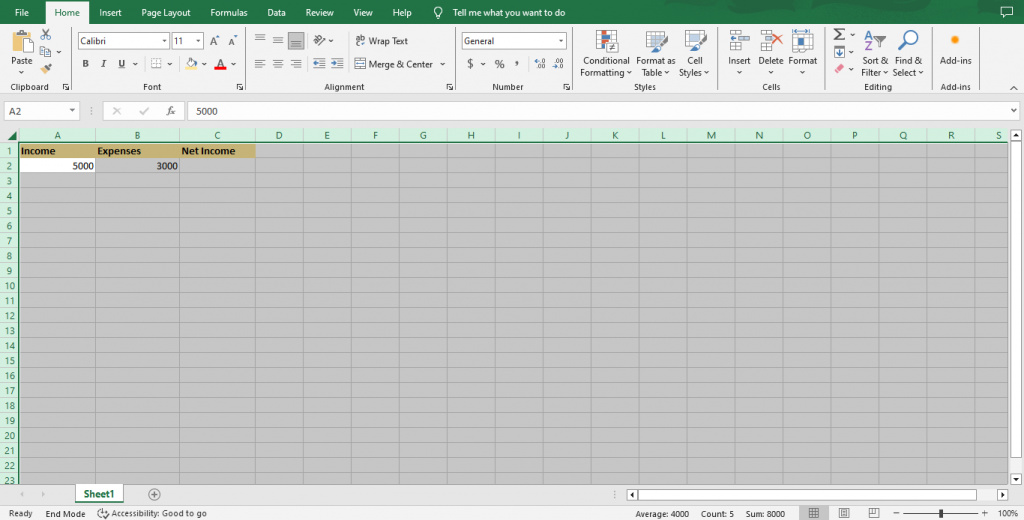
- Right-click & choose Format Cells, or press Ctrl + 1.

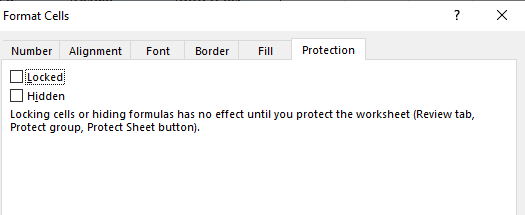
- Go to the Protection tab.
- Uncheck the Locked option and click OK.
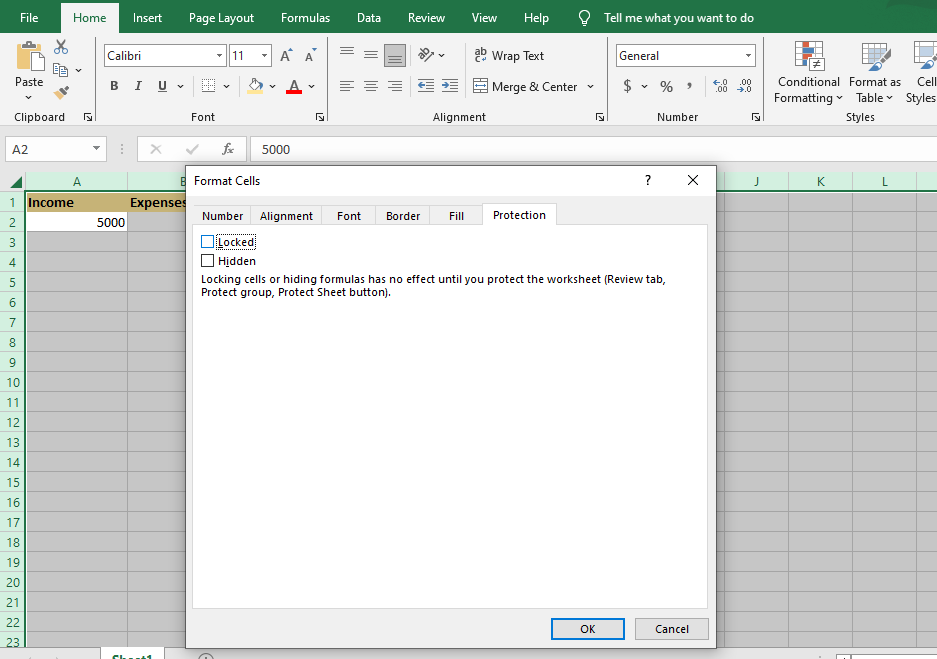
You have prepared this sheet by unlocking all cells first, so you can selectively lock only cell C2, which contains the formula, later.
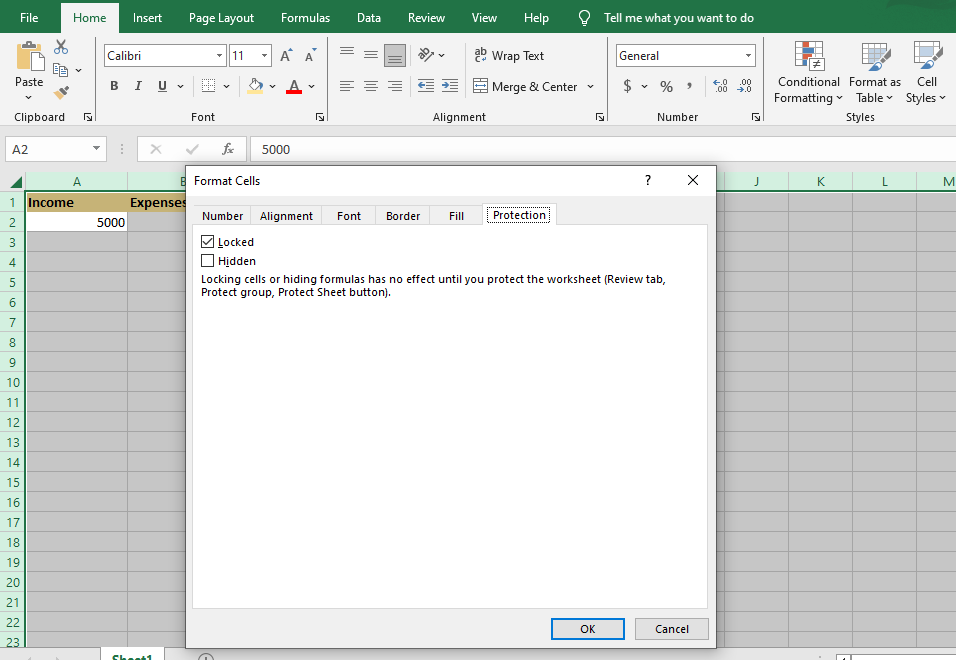
Step 2: Lock Only the Cells You Want to Protect
You want to lock the Net Income cell (C2) to prevent anyone from altering the formula.
Steps:
- Click on cell C2.

- Right-click > Format Cells (or press Ctrl + 1).
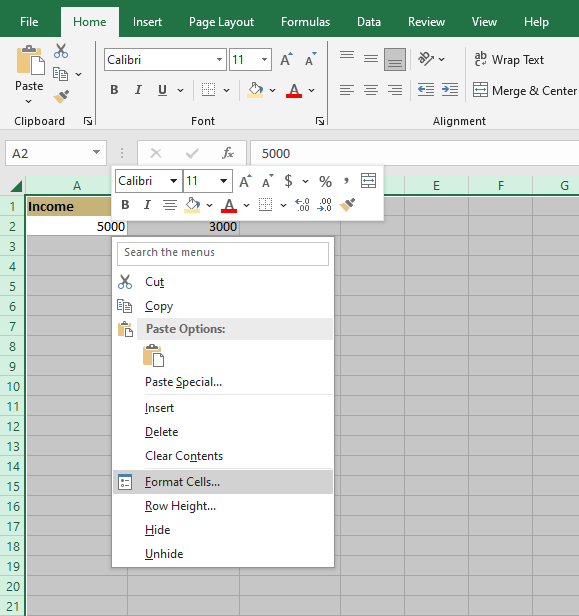
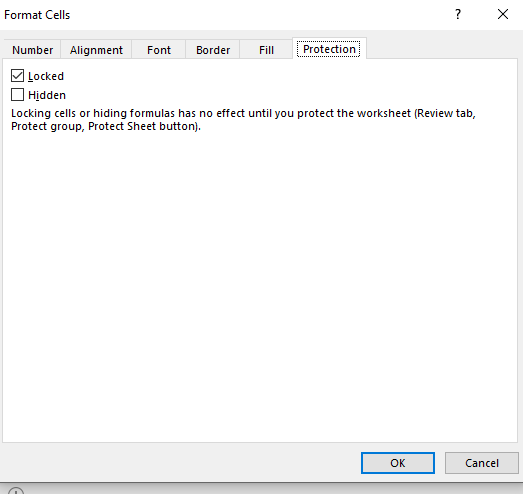
- Go to the Protection tab.
- Check the Locked option and click OK.
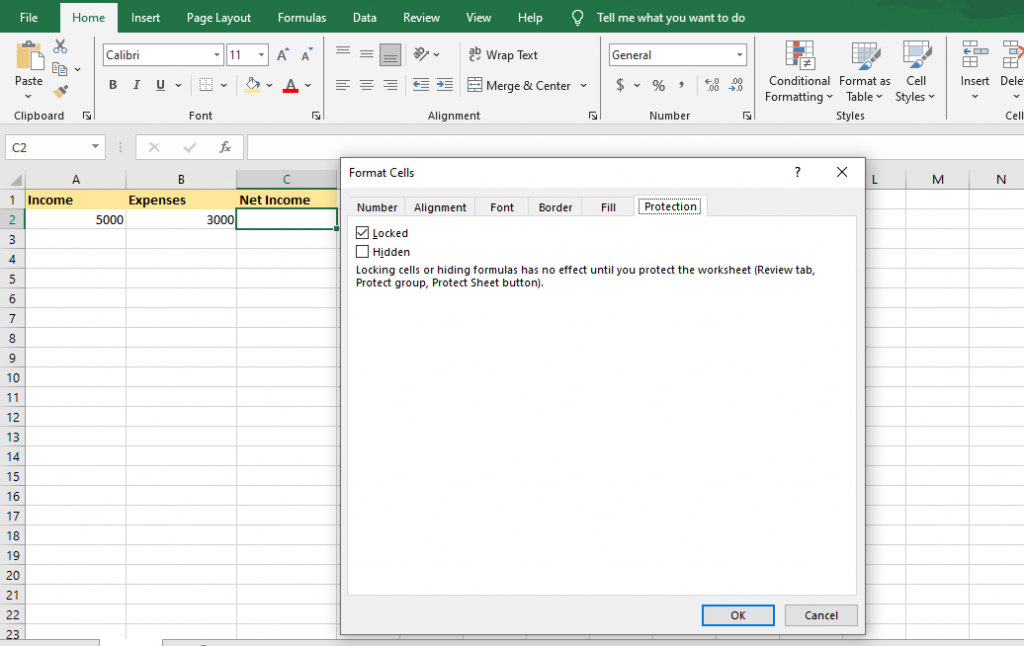
Only the C2 cell is now marked as locked. Other cells like A2 & B2 remain editable.
Step 3: Protect the Worksheet
Activate protection so that the locked cell (C2) becomes non-editable.
Steps:
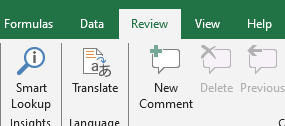
1. Go to the Review tab on the ribbon.
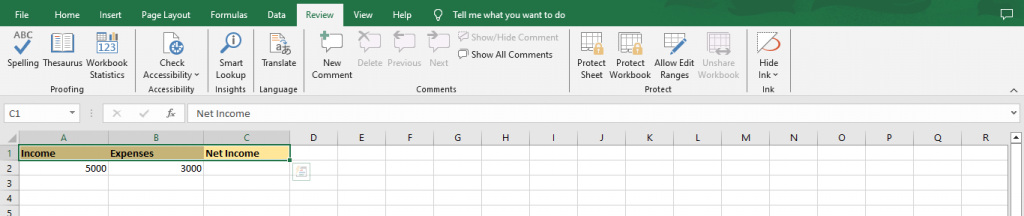
2. Click Protect Sheet.

3. (Optional) Set a password to prevent users from unprotecting the sheet.
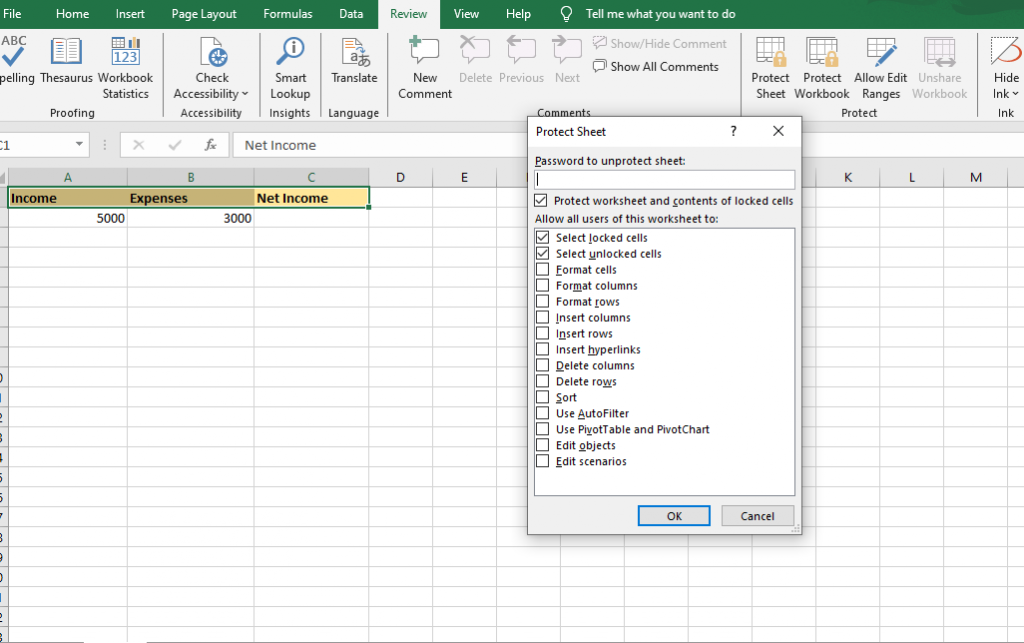
4. Make sure options like "Select unlocked cells" are enabled for usability, and then click OK.
Once you enable protection:
- Users can still type in A2 & B2 (Income & Expenses).
- Cell C2 (Net Income) becomes non-editable and protected, preserving the formula =A2-B2.

How to Lock Only Formula Cells?
Formula cells often contain essential calculations. Locking them:
- Prevents accidental deletion or overwriting.
- Ensures the integrity of results in shared sheets.
- Maintains accurate financial, academic, or analytical models.
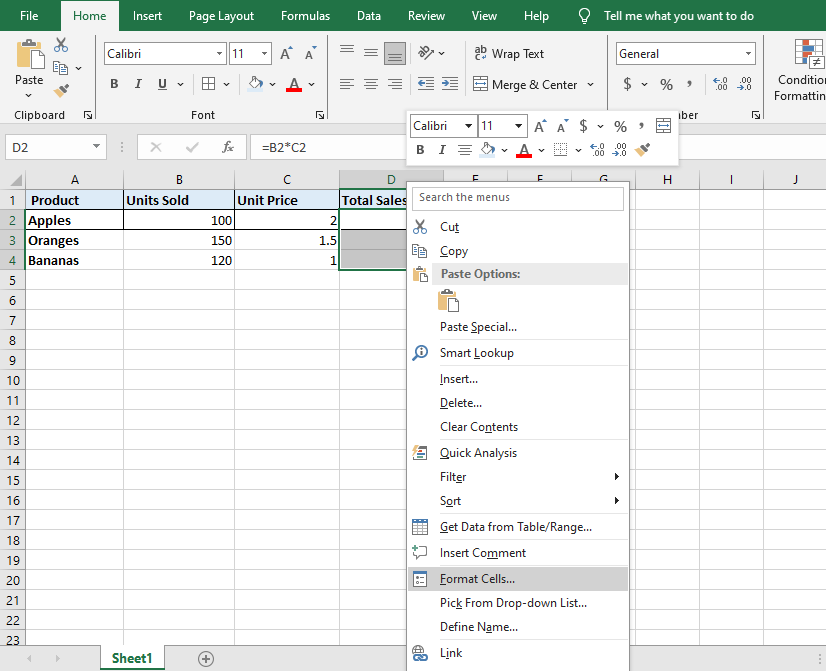
Use Case: Sales Report
We want users to input Units Sold & Unit Price, but lock the Total Sales column (D) containing formulas.
Step 1: Unlock All Cells (Preparation)
As explained earlier in the first step, all cells are locked by default.
We must first unlock the entire sheet before we can selectively re-lock only the formula cells.
How to unlock all cells:
- Press Ctrl + A to select the entire sheet.
- Right-click > Format Cells (or press Ctrl + 1).
- Go to the Protection tab.
- Uncheck Locked & click OK.
This makes all cells editable before we selectively lock only formula cells.
Step 2: Automatically Select All Formula Cells
Identify & lock only the cells with formulas.
Steps:
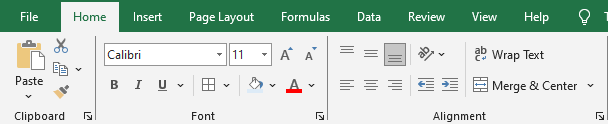
- Go to the Home tab.
- Click Find & Select > Go To Special.
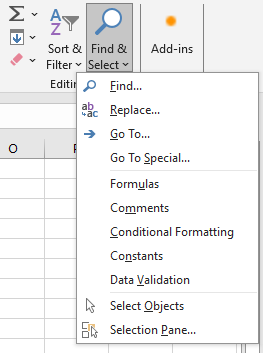
- In the dialog box, choose Formulas & click OK.
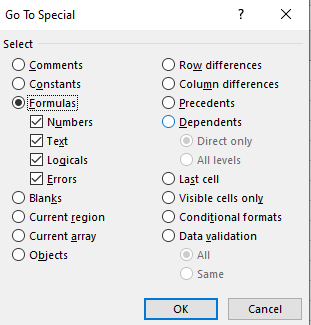
- Excel highlights all formula cells (e.g., D2:D4).

Step 3: Lock the Selected Cells
- With formula cells selected, right-click > Format Cells.
- Go to the Protection tab.
- Check the Locked box & click OK.
Now, only these formula cells are marked as locked.
Step 4: Protect the Worksheet
Finally, as explained in the last section, go to the Review tab, click Protect Sheet, set a password (optional), and click OK to activate the protection and enforce your locked formula cells.
Result:
Users can now edit Units Sold & Unit Price, but cannot edit the formula cells in Total Sales.
Advanced: Granting Edit Permissions to Specific Users
Why Use This?
- Assign editable ranges to specific users while protecting the rest of the sheet.
- Prevent accidental changes to sensitive data while allowing input in designated areas.
- Useful for shared financial models, project trackers, or departmental data inputs.
The "Allow Users to Edit Ranges" feature (on the Review tab) is a powerful tool for this. It has 2 primary methods:
- Range Passwords (Most Common):
You assign a unique password to each specific range. Anyone with access to that range's password can edit it, even on a standalone PC. - User Permissions (Advanced/Corporate):
You assign specific Windows domain user accounts (e.g., "HR-User") to a range. This requires being connected to a Windows domain, typically in an organizational setup.
Here is the most common method using these methods
Method 1: Using Range Passwords (Departmental Budget Example)
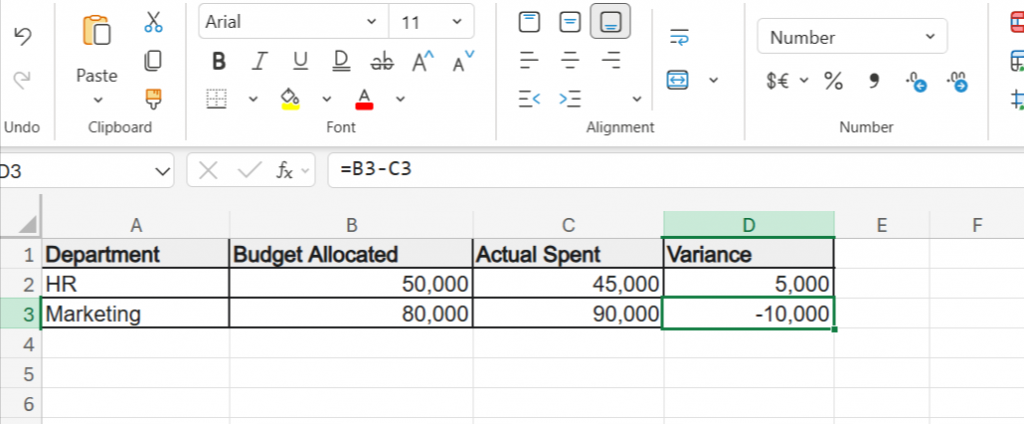
You want the HR team to edit only the HR row, & the Marketing team to edit only the Marketing row. You will give each team a separate password for their specific cells.
You want:
- HR to edit only cells B2:C2.
- Marketing to edit only cells B3:C3.
- The Variance column (D) is to remain locked for everyone.
Step 1: Define Editable Ranges with Passwords
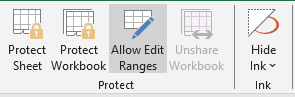
- Go to the Review tab.
- Click on Allow Users to Edit Ranges (or "Allow Edit Ranges").
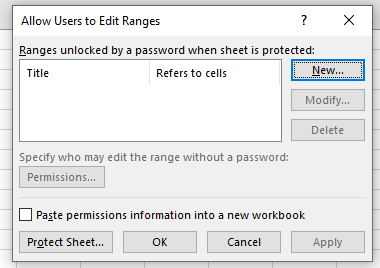
- In the pop-up, click New.
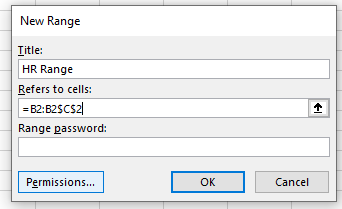
For HR
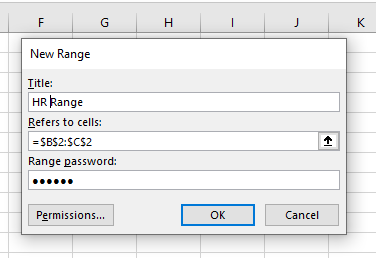
- Title: Name the range (e.g., "HR Range").
- Refers to cells: Enter the range (e.g., $B$2:$C$2).
- Range password: Enter a unique password for this range (e.g., "HR-pass").
- Click OK.
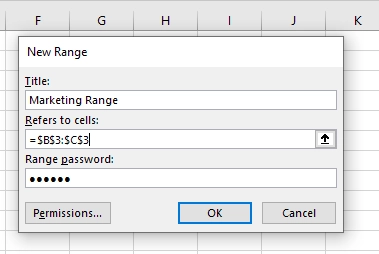
For Marketing
- Click New again to add the next range.
- Title: "Marketing Range"
- Refers to cells: $B$3:$C$3
- Range password: Enter a different password (e.g., "MKTG-pass").
- Click OK.
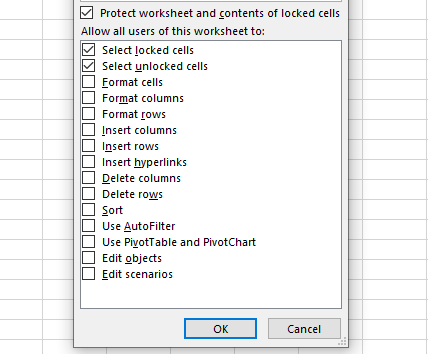
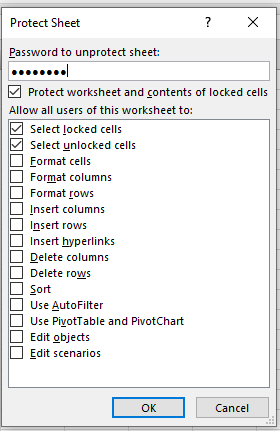
Step 2: Protect the Worksheet
- Now, on the same Review tab, click Protect Sheet.
- Set a master password (optional, but recommended). This password protects the entire sheet structure & prevents anyone from changing the "Allow Edit Ranges" rules.
- Ensure "Select locked cells" & "Select unlocked cells" are checked.
- Click OK.
Result:
- The sheet is now protected. All cells that you did not include in an "Allow Edit Range" (like the formulas in column D) will be locked and uneditable.
- If a user from HR tries to edit cell C2 (which is in the "HR-Range"), Excel will prompt them for a password. They enter "HR-pass" and can now edit the B2:C2 range. If that same user tries to edit cell C3 (Marketing's row), their "HR-pass" will not work.
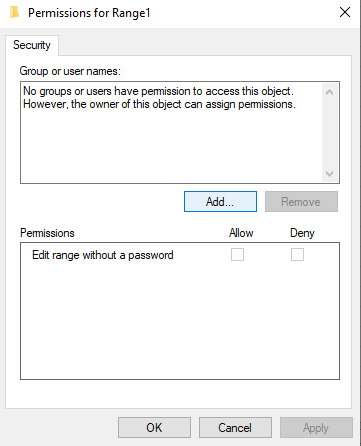
Method 2: Using Corporate/Domain User Permissions
If your computer is part of a Windows domain (common in large organizations), you can assign permissions to user accounts directly.
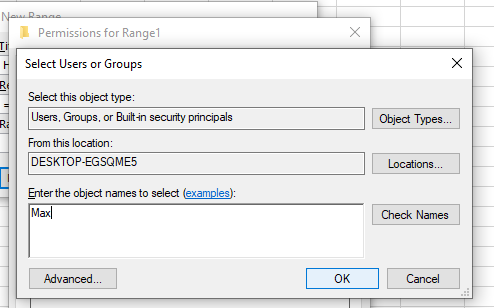
- Follow Step 1 above, but instead of typing a password in the "Range password" box, click the Permissions button.
- Click Add & use the directory to find & add the specific user accounts (e.g., "MAX") who should have access.
- Follow Step 2: Protect the Worksheet as usual.
Result:
When the user "HR-Manager" is logged into their computer & opens the file, Excel will automatically recognize them & allow them to edit the B2:C2 range without a password. All other users will be blocked
Tips & Best Practices with examples
1. Always Unlock Cells You Want Users to Edit Before Protecting the Sheet
By default, all cells in Excel are locked. If you protect the sheet without unlocking specific cells, users won’t be able to edit anything.
Example: You have a budget tracker:
Before protecting the sheet:
- Unlock C2:C3 (Actual values column).
- Leave D2:D10 locked (contains formulas).
Now users can fill in actual values, but can't change the formula.
2. Use Strong Passwords and Keep Them Safe
A weak or forgotten password can lead to unauthorized edits or permanent lockout if your sheet contains sensitive financial or analytical data.
Example:
When you click Review > Protect Sheet, use a secure password like B@2025_SalesReport! rather than a simple 1234. Store it in a secure password manager or shared credentials document (if required by your team).
3. Regularly Review Which Cells Are Locked/Unlocked, Especially in Shared Workbooks
Over time, you may add rows, columns, or new formulas. These additions may unintentionally be left unlocked or locked incorrectly.
Example:
You add column E (Notes) for feedback on each expense row, but forget to unlock it.
Best Practice:
A good way to check is to select your data, press Ctrl + 1, & go to the Protection tab. The "Locked" checkbox will be filled if;
- All selected cells are locked
- Clear if all are unlocked
- Show a shaded square if there's a mix
Conclusion
Learning cell locking & protection in Excel is vital for maintaining data integrity in collaborative environments. If you are working with budgets, monitoring KPIs, or tracking formulas, knowing how to control access will ensure that your work remains error-free & systematic in content.
If you’re just getting started and want structured learning from the basics through to more advanced topics like data protection and what-if analysis, consider enrolling in this Free Excel course designed specifically for beginners.