Introduction
Jupyter Notebook is an open-source web application. This application allows you to create documents that can contain live code, equations, visualizations, images, and narrative text.
This application is mainly used for data science or statistical evaluation purpose. These processes include data cleaning, data transformation, numerical simulation, mathematical computations, statistical modelling, data visualization, machine learning, and deep learning concepts, etc. So you can explain this application as a data science tool kit.
Jupyter is mostly used by beginners as well as companies. It has almost forty different programming languages and Python is one of them. Before installing the Jupyter notebook, you have to make sure that Python (Python 3.3 or greater, or Python 2.7) is already installed to your system. This is because installing the Jupyter Notebook requires Python.
In this course, you will learn the fundamentals of Python: from basic syntax to mastering data structures, loops, and functions. You will also explore OOP concepts and objects to build robust programs.
Jupyter Notebook can be installed in two possible ways:
Install Jupyter Notebook by Anaconda
What is Anaconda?
Anaconda is a free and open-source platform for programming languages such as Python and R. This platform comes with the Python interpreter and various packages that are related to Artificial Intelligence.
The main agenda behind the Anaconda Platform is to make it easy for people who are keenly interested in these fields. It comes with many pre-installed libraries and packages and it just needs a single installation process. This platform is beginner-friendly and easy to use.
Installing Jupyter Notebook using Anaconda
Anaconda platform also contains Jupyter, Spyder, and more. This is mainly used for large data processing, data analytics, heavy scientific computing. One sub-application of anaconda is Spyder that is used for Python. OpenCV Library for image processing which is used in Python also works in Spyder. Package versions are managed by the package management system called Conda.
In order to install Jupyter using Anaconda, Please follow the following instructions:
1. Install Anaconda:
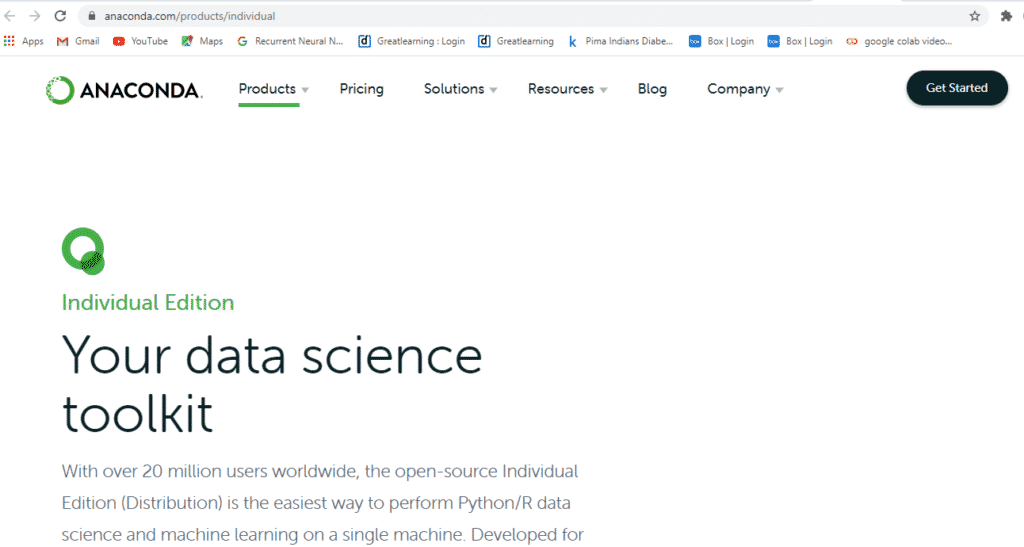
2. Please go to the Anaconda.com/downloads site
3. Select the respective platform: Windows/Mac/Linux
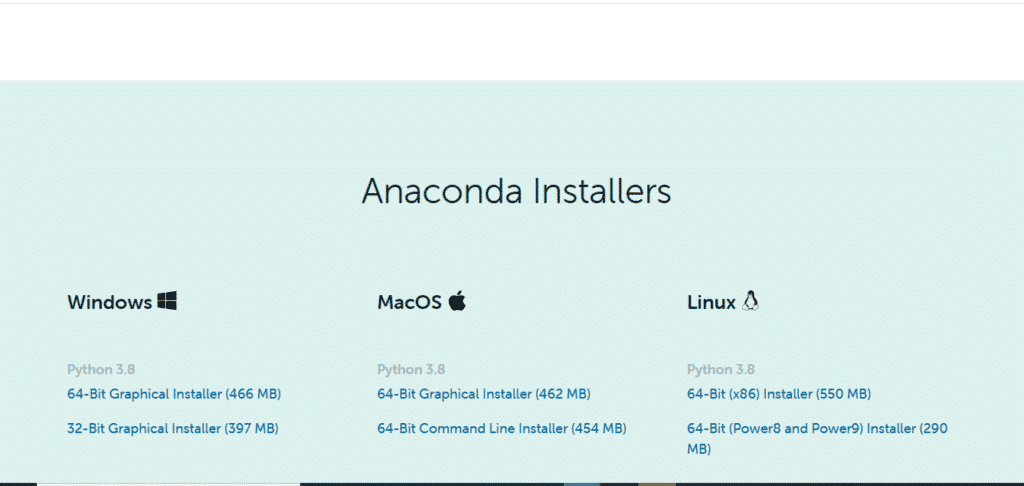
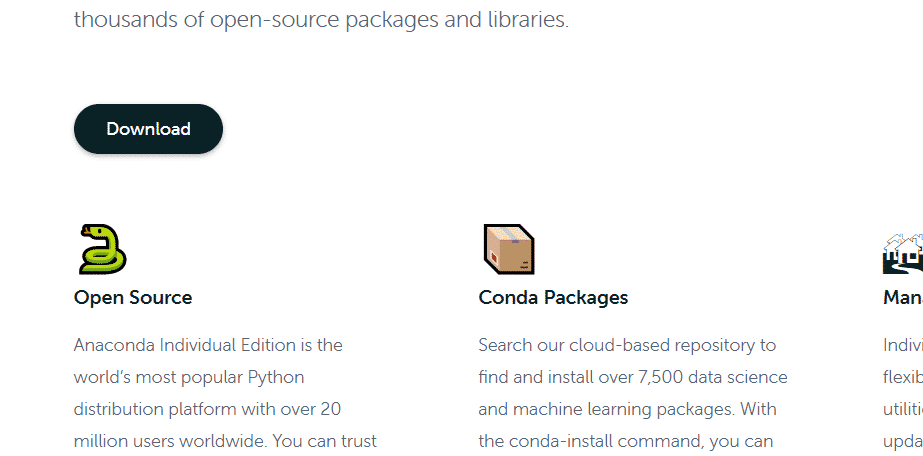
4. Download the .exe installer
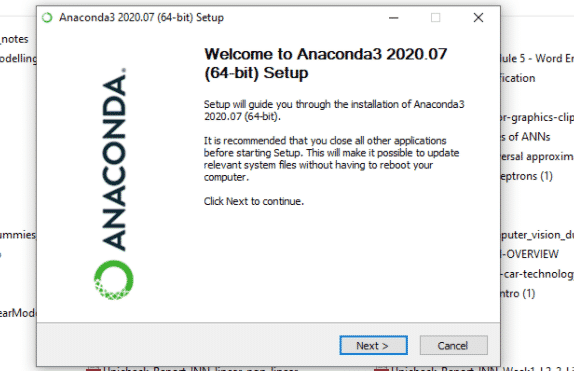
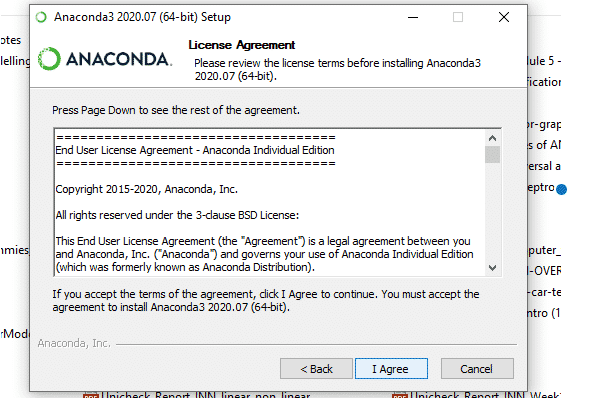
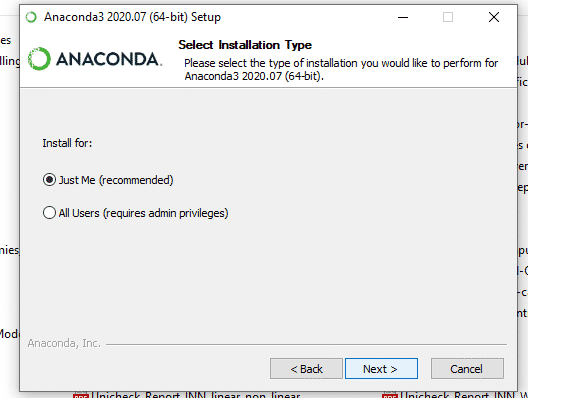
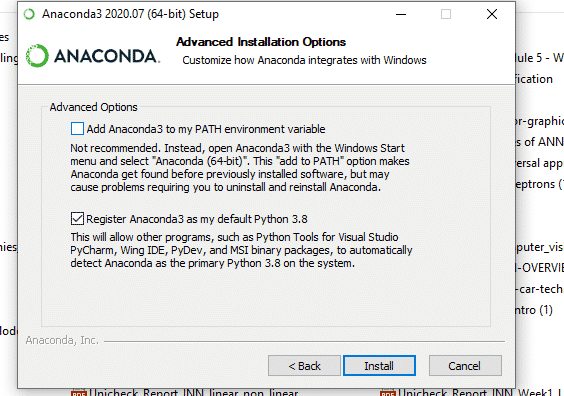
5. Open and execute the .exe installer
6. Launch Anaconda Navigator

7. Click on the Install Jupyter Notebook Button
8. Beginning the Installation
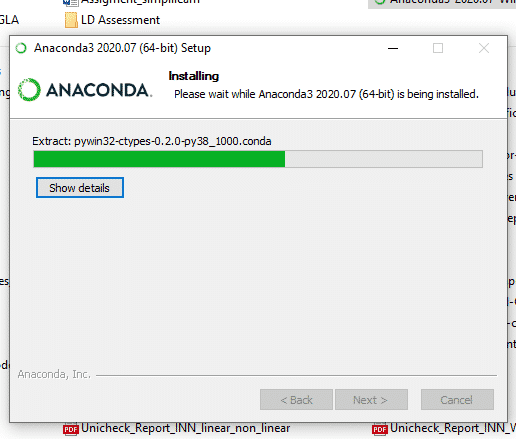
9. Loading Packages
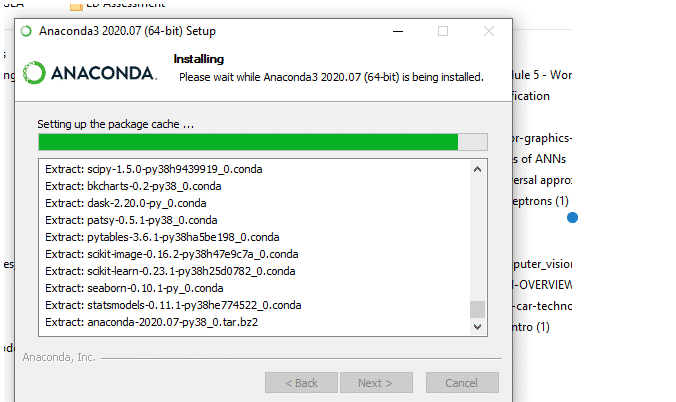
10. Finish Installation
Installing Jupyter Notebook using pip command
PIP stands for the package management system which is used to install and manage software packages/libraries. These libraries and the packages are written in Python. These files are stored in a large “on-line repository” termed as Python Package Index (PyPI). pip uses PyPI as the default source for packages and their dependencies.
Before we start installing pip, we have to check the version of the pip command. If the version of the pip command is not updated then we need to update the pip in our system.
Update PIP command
python3 -m pip install --upgrade pip
Then after updating the pip version we need to follow the upcoming process to install Jupyter.
- Command to install Jupyter: pip3 install Jupyter
- Begin Installation
- Collect Files and Data
- Download Packages
- Run Installation
- Finish Installation
Now Launch the Jupyter:
Use the command to launch Jupyter using command-line:
jupyter notebook
You can learn about Jupyter Notebook through free course. These free course willl help you learn how to set up and use Jupyter Notebooks, and will explore many features that will make your work with data more efficient.