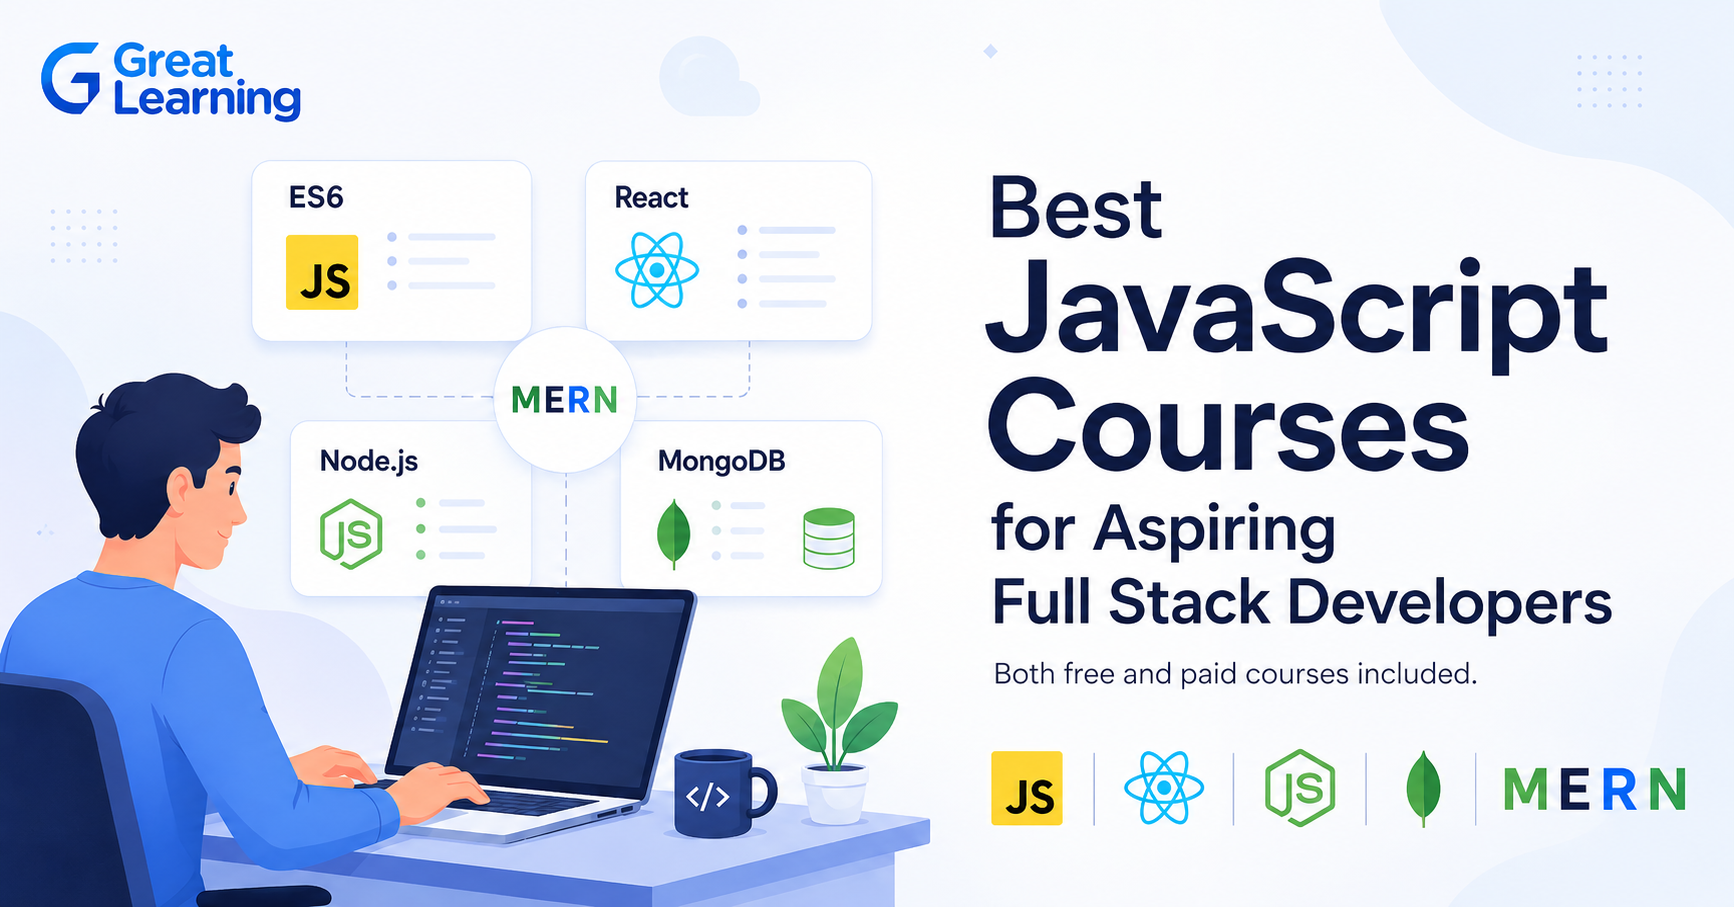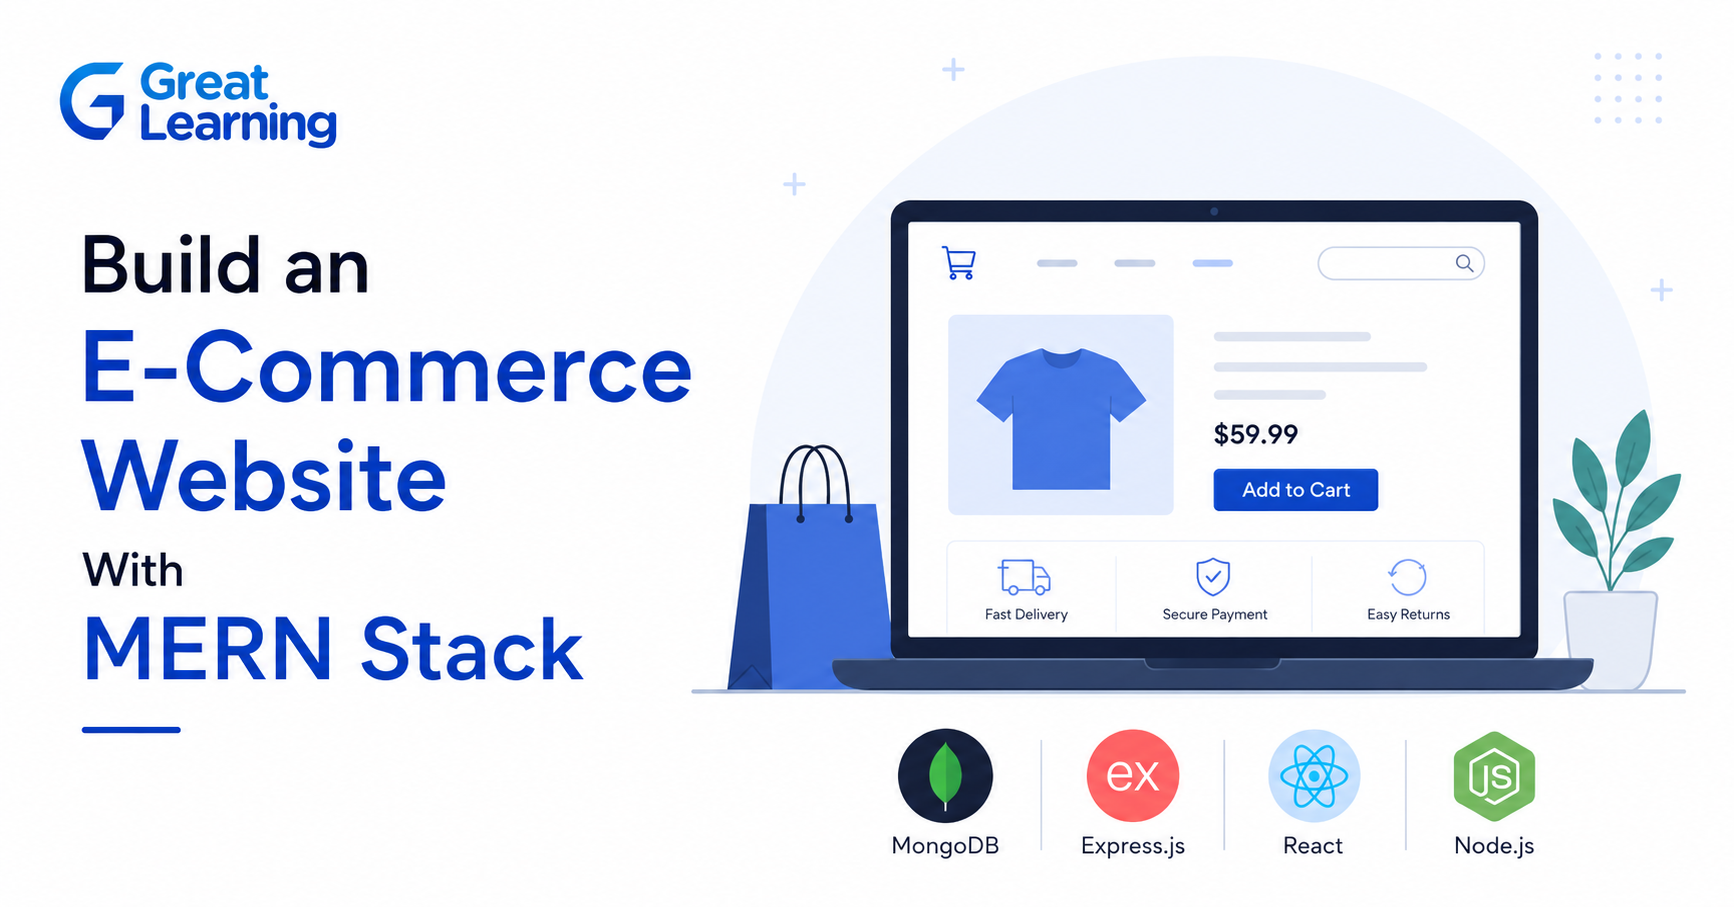
- What Is the MERN Stack, and Why Use It for E-Commerce?
- Step 1: Plan Your E-Commerce Website
- Step 2: Set Up Your Development Environment
- Step 3: Build the Backend With Node.js and Express.js
- Step 4: Design Your MongoDB Schemas
- Step 5: Build RESTful APIs
- Step 6: Implement Authentication and Authorization
- Step 7: Build the Frontend With React.js
- Step 8: Connect the Frontend to the Backend
- Step 9: Integrate a Payment Gateway
- Step 10: Apply Security Best Practices
- Step 11: Test Your Application
- Step 12: Deploy Your E-Commerce Website
- Step 13: Maintain and Scale
- Where to Go From Here
- Conclusion
Want to build an e-commerce website using MERN that's scalable, efficient, and modern? You're in the right place. The MERN stack is a popular web development stack used to build scalable and efficient web applications.
In fact, this stack ecommerce solution allows you to work with a single programming language (JavaScript) across your entire project. Together, MongoDB, Express.js, React, and Node.js provide a comprehensive and powerful solution for building a modern e-commerce website.
Whether you're a self-taught developer, a computer science student, or a working professional pivoting into web development, you'll find a clear, sequential roadmap here.
What Is the MERN Stack, and Why Use It for E-Commerce?
MERN is an acronym for four technologies that work together to form a complete web development stack:
| Technology | Role | Why It Matters for E-Commerce |
|---|---|---|
| MongoDB | NoSQL database |
|
| Express.js | Backend framework |
|
| React.js | Frontend library |
|
| Node.js | Runtime environment |
|
Because all four layers speak JavaScript, a MERN application lets a single developer (or a small team) move fluidly between frontend and backend code without translating logic across languages.
That single-language advantage, combined with MongoDB's flexible schema for handling product data with inconsistent attributes, is a major reason the stack has become a go-to choice for online stores of varying sizes.
Step 1: Plan Your E-Commerce Website
Before writing a single line of code, define the scope of your project. Skipping this step is the most common reason MERN e-commerce projects stall halfway through.
Ask yourself:
- Who is the target user? B2C shoppers, B2B buyers, or a niche marketplace?
- What's the product catalog size? A handful of SKUs versus thousands changes how you structure your database.
- What features are must-haves for launch? Product search, cart, checkout, and order tracking are the non-negotiables.
- What's the payment and shipping model? Single currency or multi-currency, single region or global?
- What's your deployment budget and timeline?
Sketch your core pages early: homepage, product listing, product detail, cart, checkout, user account, and an admin dashboard. Having this blueprint ready prevents costly architecture changes later.
Step 2: Set Up Your Development Environment
With a plan in place, prepare your tools:
- Install Node.js and npm from the official Node.js site. npm ships with Node.js and manages your project's packages.
- Install MongoDB. You can run it locally or use MongoDB Atlas, the managed cloud version, which removes the need to maintain your own database server.
- Install a code editor such as VS Code, along with extensions for JavaScript, ESLint, and Prettier.
- Install Postman or Insomnia to test your API endpoints independently of the frontend.
- Set up Git for version control from day one — this matters even for solo projects.
Create a root project folder with two subfolders: one for the backend (Node.js/Express) and one for the frontend (React).
Step 3: Build the Backend With Node.js and Express.js
The backend is the engine room of your store. It handles data, business logic, authentication, and communication with the database.
Initialize the project:
mkdir backend && cd backend
npm init -y
npm install express mongoose cors dotenv bcryptjs jsonwebtoken
Core backend responsibilities:
- Server setup: Create an index.js (or server.js) file that initializes Express, connects to MongoDB via Mongoose, and starts listening on a port.
- Environment variables: Store sensitive values (database URI, JWT secret, payment API keys) in a .env file using the dotenv package — never hard-code these.
- Folder structure: Organize your backend into models/, routes/, controllers/, and middleware/ directories to keep code modular and easy to scale.
A typical structure looks like this:
backend/
models/
routes/
controllers/
middleware/
config/
index.js
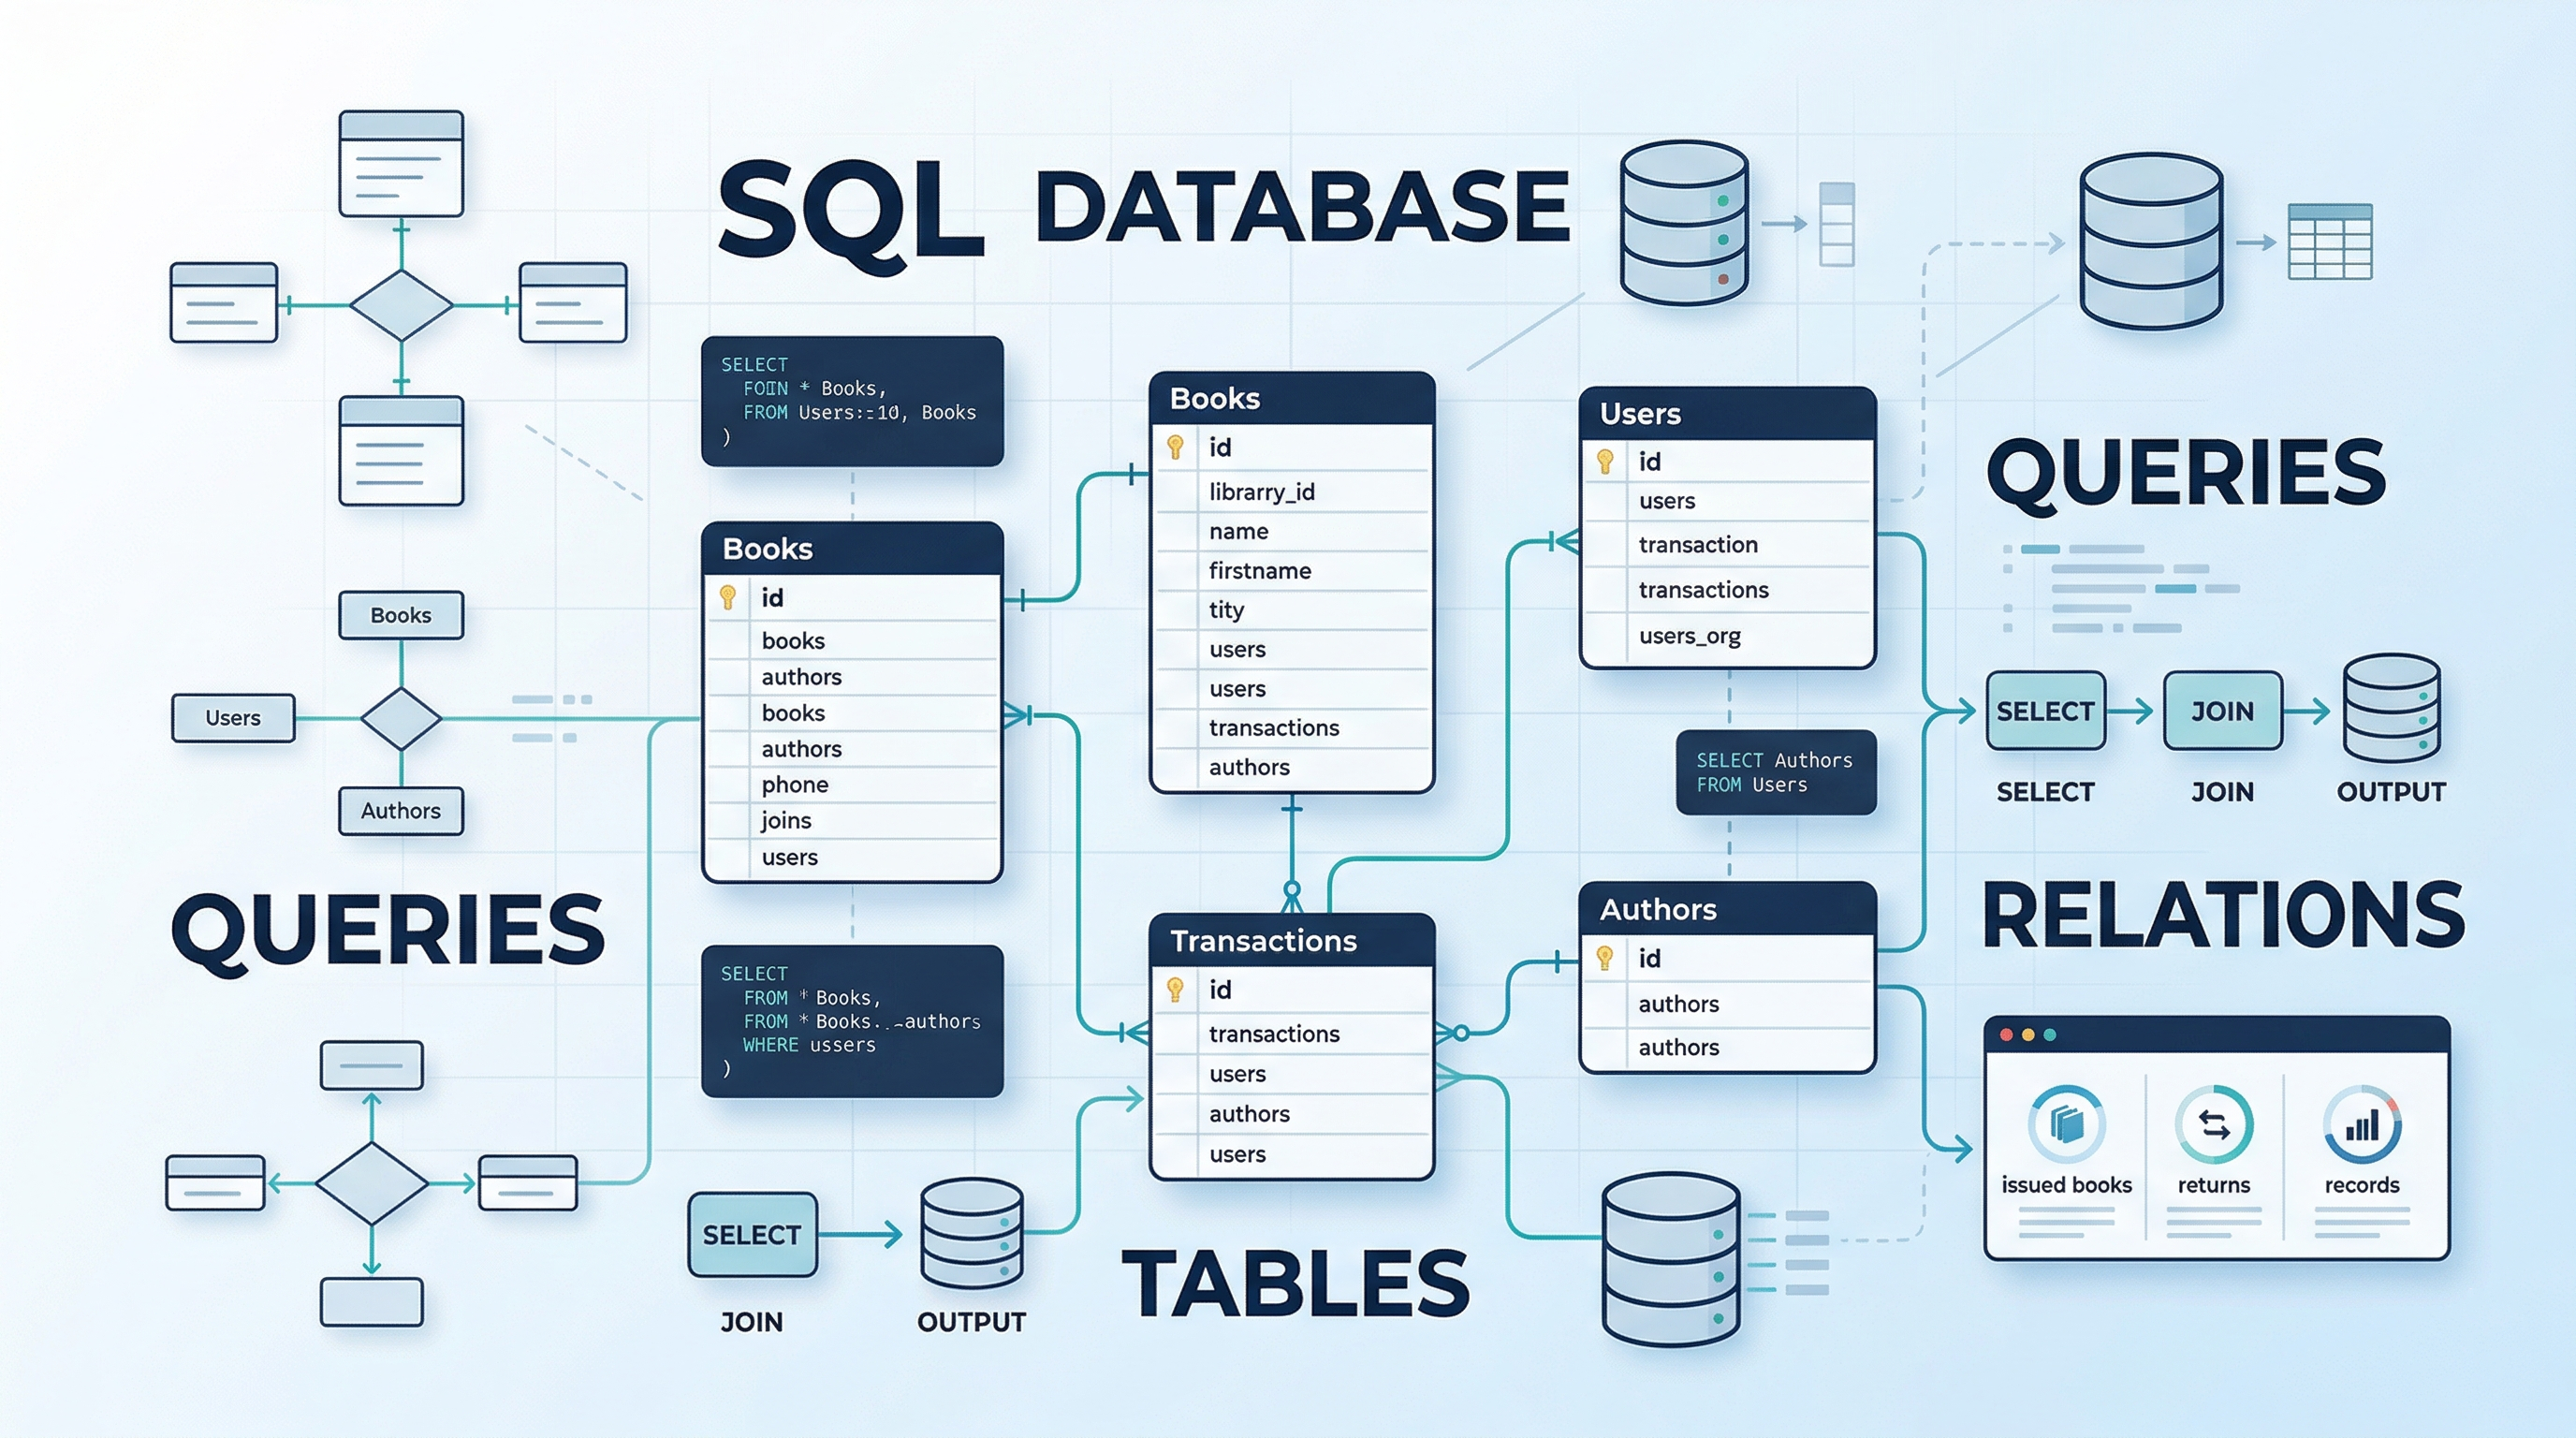
.envStep 4: Design Your MongoDB Schemas
MongoDB's schema flexibility is one of its biggest advantages for e-commerce, where product data is rarely uniform. Use Mongoose, an Object-Document Mapping (ODM) library, to define structured schemas while still keeping flexibility where you need it.
At a minimum, plan for these collections:
- Users: name, email, hashed password, role (customer/admin), address book
- Products: name, description, price, category, stock count, images, ratings
- Categories: for filtering and navigation
- Cart: user reference, product references, quantities
- Orders: user reference, items, shipping details, payment status, order status
Keep relationships in mind. MongoDB isn't relational, but you'll still reference documents across collections (for example, an order referencing a user ID and product IDs) using Mongoose's ref and populate features.
Step 5: Build RESTful APIs
Once your schemas exist, build the API endpoints that the frontend will consume. Structure your routes around standard REST conventions:
| Endpoint | Method | Purpose |
|---|---|---|
/api/products
|
GET | Fetch all products with filters and pagination. |
/api/products/:id
|
GET | Fetch a single product. |
/api/products
|
POST | Add a product. Admin access only. |
/api/users/register
|
POST | Register a new user. |
/api/users/login
|
POST | Authenticate a user and issue a token. |
/api/cart
|
GET/POST | Retrieve or update a user's cart. |
/api/orders
|
POST | Place a new order. |
/api/orders/:id
|
GET | Retrieve order details. |
Use middleware to handle cross-cutting concerns like error handling, request logging, and authentication checks before requests reach your controllers.
Step 6: Implement Authentication and Authorization
Security is non-negotiable for any site that handles user accounts and payments. The standard approach in a MERN application combines:
- Password hashing with bcrypt js so plaintext passwords are never stored.
- JSON Web Tokens (JWT) to issue stateless, signed tokens upon login that authenticate subsequent requests.
- Protected routes using middleware that verifies the JWT before allowing access to sensitive endpoints (like placing an order or accessing the admin dashboard).
- Role-based access control to distinguish between regular customers and admin users who manage inventory and orders.
Some teams also add OAuth-based social logins or session-based authentication as an alternative to JWT, depending on the user experience they want.
Step 7: Build the Frontend With React.js
With your backend APIs functioning, shift to the user-facing experience.
Initialize the React app:
npx create-react-app frontend
cd frontend
npm install axios react-router-dom redux react-redux
Core frontend components to build:
- Navbar: navigation, search bar, cart icon with item count
- Product listing page: grid of product cards with filtering and sorting
- Product detail page: images, description, price, "Add to Cart" action
- Cart page: editable quantities, subtotal, and checkout button
- Checkout flow: shipping details, payment, order confirmation
- User account pages: login, registration, order history
- Admin dashboard: product CRUD, order management, basic sales analytics
Use React Router for client-side navigation between these pages and Axios to call your Express APIs. For state that needs to be shared across components cart contents, logged-in user data most MERN e-commerce projects rely on either the Redux Toolkit or React's built-in Context API, depending on how complex the state logic gets.
Step 8: Connect the Frontend to the Backend
This is where the two halves of your application become one product.
- Set your API base URL in a config file or an environment variable so you can easily switch between local development and production.
- Use Axios interceptors to automatically attach the JWT token to authenticated requests.
- Handle loading and error states gracefully in the UI a shopping site that fails silently on a broken API call will lose customers fast.
- Test each flow end-to-end: browsing, adding to cart, logging in, and completing checkout.
Step 9: Integrate a Payment Gateway
No e-commerce site is complete without a way to get paid. The most common choices for a MERN stack build are Stripe, PayPal, and Razorpay, each offering developer-friendly SDKs and strong documentation.
A typical integration flow:
- Install the payment provider's SDK in your backend (for example, stripe for Node.js).
- Create a backend route that generates a payment intent or order ID.
- On the frontend, render the provider's secure checkout form or hosted payment element and never collect raw card details on your own server.
- Verify the payment server-side using the provider's signature verification before marking an order as paid.
- Store the transaction status and ID in your Orders collection for record-keeping and customer support.
Choosing the right gateway typically depends on your target market, transaction volume, and the currencies you need to support.
Step 10: Apply Security Best Practices
Security can't be an afterthought for a platform processing payments and personal data. Build these in from the start:
- Use HTTPS in production to encrypt all traffic.
- Hash passwords with bcrypt and never log sensitive data.
- Sanitize and validate inputs on both the frontend and backend to prevent injection attacks.
- Set up CORS policies in Express so only trusted origins can call your API.
- Add rate limiting (using something like express-rate-limit) to slow down brute-force attempts.
- Use Helmet.js to automatically set secure HTTP headers.
- Keep dependencies updated to patch known vulnerabilities.
Step 11: Test Your Application
Testing catches the bugs that would otherwise reach your customers.
- Unit tests for individual functions and components using Jest.
- Integration tests for API endpoints to confirm routes behave correctly under different inputs.
- End-to-end tests that simulate a full user journey, browsing, adding to cart, and checking out.
- Manual QA across browsers and screen sizes, since a broken mobile checkout flow directly costs conversions.
Step 12: Deploy Your E-Commerce Website
Once testing is complete, move your application to production.
| Component | Common Deployment Options |
|---|---|
| Frontend (React) |
|
| Backend (Node/Express) |
|
| Database |
|
| Images/Media |
|
Set up environment variables on your hosting platform, point your frontend's API base URL to the live backend, and run a final round of testing in the production environment before announcing your launch.
Step 13: Maintain and Scale
Launching isn't the finish line. Plan for:
- Regular dependency and security updates
- Database indexing as your product catalog grows
- Caching frequently accessed data (Redis is a common pairing with MongoDB for this)
- Monitoring uptime and error logs
- Iterating on features based on real user behavior
Where to Go From Here
Reading a step-by-step guide gives you the roadmap, but building a production-ready e-commerce platform involves many "what do I do when this breaks" moments that are far easier to navigate with structured, hands-on practice.
If you'd rather follow a guided curriculum than piece this together from scattered tutorials, Great Learning's Full Stack Web Development with MERN Stack course covers this exact path in depth, from Node.js and Express fundamentals through MongoDB, React, authentication with JWT, and a guided project where you build a complete e-commerce web application from the ground up, with a certificate at the end.
MERN Full Stack Developer Course
Learn full-stack web development with MERN. Build powerful apps, improve your skills, and open doors to new career opportunities today.
Conclusion
Building an e-commerce website with the MERN stack comes down to a sequence of manageable steps: plan your scope, set up your tools, build a solid backend with well-designed schemas and APIs, layer in secure authentication, build a responsive React frontend, connect the two, integrate payments, and ship it with security and testing baked in.
None of these steps is complicated in isolation; the skill is in sequencing them correctly and not skipping the planning and security work that's easy to underestimate early on.
The MERN stack rewards developers who stick with it because every piece MongoDB, Express, React, and Node speaks the same language and fits together with minimal friction. Start with a small, well-scoped version of your store, get each step working end-to-end, and expand from there. That incremental approach is what separates finished e-commerce projects from the half-built ones sitting in abandoned GitHub repos.